LC HeyBible - User Manual and Documentation
Welcome to the LC HeyBible user manual. This guide covers all the core features of the application, including the control panel, presentation displays, AI sermon tools, and more.
1. The Control Panel Window
The Control Panel is the central hub of LC HeyBible. From here, you can manage presentations, search the Bible, view hymns, and control what is sent to the external display.
Main Tabs: Navigate between Presentation, Sermons, and Hymn Viewer at the top of the interface.
Bible Search & Selection: Quickly search for scriptures using the "Search bible" text box, or manually select the translation (e.g., KJV, ASV), book, chapter, and verse from the right-hand grid.
Paraphrase Results: Uses HeyBible Engine to process live feed audio (e.g., if the preacher says "For God so loved the world", it shows results for the top 3 parts of the Bible related to that statement/quote/paraphrase, including John 3:16). These results are shown just below the search bar.
Navigation Controls: Use the Previous Verse and Next Verse buttons to smoothly transition backward or forward through scriptures during a service.
2. External Display Feature (The Projector)
The Projector window is what your audience sees. The LC HeyBible Projector window is made to:
Be detected by external display softwares like OBS.
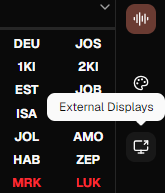
Be displayed automatically to an external display hardware like a projector by using the External Display button at the right bar of the control panel. The button shows a list, when clicked, of external displays like a projector (as long as the PC display is on extended).
Alternatively, it can also be dragged to a secondary extended display.
3. Presentation Display Features
LC HeyBible allows you to fully customize how scriptures and content are displayed to the congregation.
Background Themes: Under the Presentation menu, you can select different visual themes. It comes with LC HeyBible default backgrounds and you can add custom themes also.
Customization Panel:
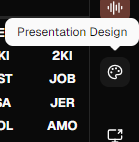
When editing a presentation style, The Presentation Design Panel on the right side of the screen allows you to adjust:
- Font: Change the font family (e.g., Bahnschrift) and set the exact font size.
- Styling: Add shadows to the text and adjust padding for readability.
- Position & Sizing: Precisely control the width, height, top, left, right, and bottom margins of the text box to fit your screen perfectly.
- Animations: Choose how new text transitions onto the screen using animations like Fade, Slide, Scale, or None.
The Presentation tab is used to access saved themes, and also save new ones or update current ones.
4. PiL Mode (Personnel in Loop) vs. Autopilot
The application features speech recognition to listen to the speaker and assist with displaying the correct verses.
Audio Stream Start/Stop: Audio stream can be activated or deactivated by clicking the circular AI button (Note that this also starts or stops the autopilot mode).
Audio Input Selection: Choose the correct microphone or audio input device from the dropdown menu below the active verse display. An audio visualizer will confirm that sound is being picked up. To switch to a new audio source, the audio feed must be stopped by clicking the AI button (i.e., switching audio during an audio stream feed will not be detected).
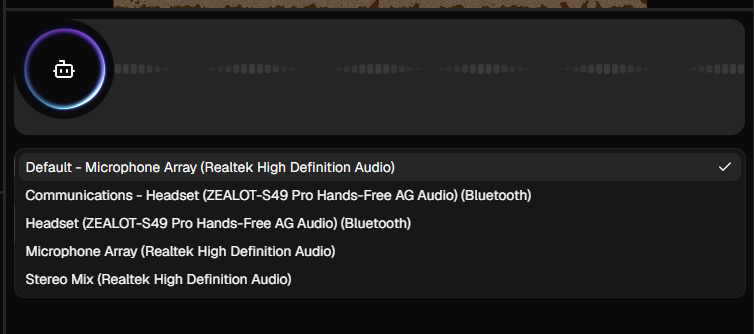
Audio Mute: The Mic Button can be used to mute/unmute an audio feed.

Personnel in Loop (PiL) Mode: The PiL mode is a hybrid of autopilot mode and manual mode. It enables you to also use the history, Bible chapter, Bible navigation and search, previous verse and next verse features along with the automatic mode. While the speech recognition system listens and prepares the verses, the operator must manually verify and click to display them. This ensures accuracy and timing are controlled by a person.
Autopilot Mode: When toggled using the circular AI button, the system will automatically switch verses on the projector based on the live speech recognition, without requiring manual clicks from the operator.
5. AI Features for Sermons
The Sermons window opens a detailed window for AI Features for Sermons. LC HeyBible includes powerful AI tools to process and repurpose sermons in real-time.
Sermon Panel: The Sermon panel is used to start and end a sermon session. When starting a sermon session, you will be prompted to add the Preacher's name before you click Start Session. The Sermon Panel can be accessed by clicking the Record sermon session button.
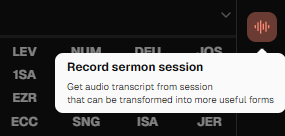
Live Transcription: Live transcription of the sermon is shown in the Sermon panel. As the sermon is preached, the AI listens and generates a live transcript of the message, distinguishing between regular speech and scripture references.
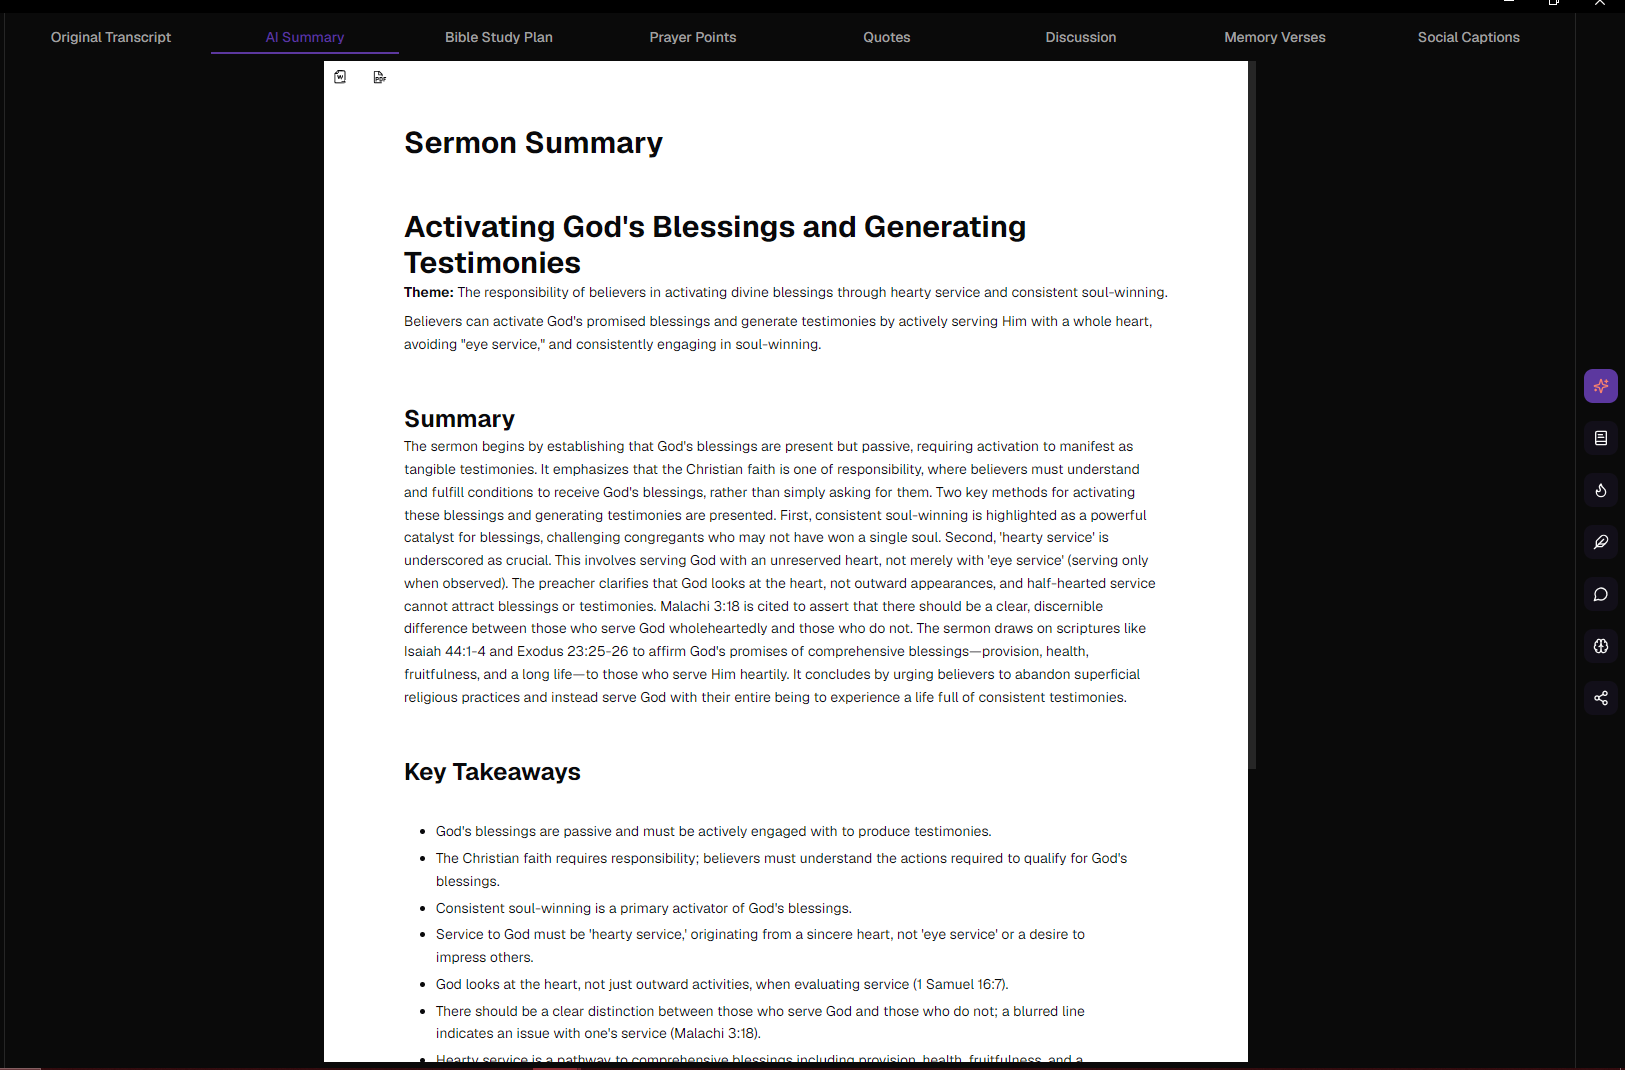
Post-Sermon Generation: Once you click End Session, you can use the right-hand AI toolbar to instantly generate:
- AI Summary: A concise summary of the sermon along with key takeaways.
- Bible Study Plan: A structured, multi-day study guide based on the sermon's topic.
- Discussion Questions: Questions to facilitate small group or family discussions.
- Prayer Points: Actionable prayer focuses derived from the message.
- Quotes: Notable and shareable quotes extracted from the speaker.
- Social Captions: Formatted posts ready to be copied for Twitter/X, Facebook, Instagram, and Threads.
- Memory Verses: Key scriptures referenced in the sermon, complete with their context.
Exporting Documents: All generated AI content and transcripts can be easily exported and saved as Word documents (.docx) or PDFs directly to your local computer for distribution.
6. Hymns and Songs Viewer
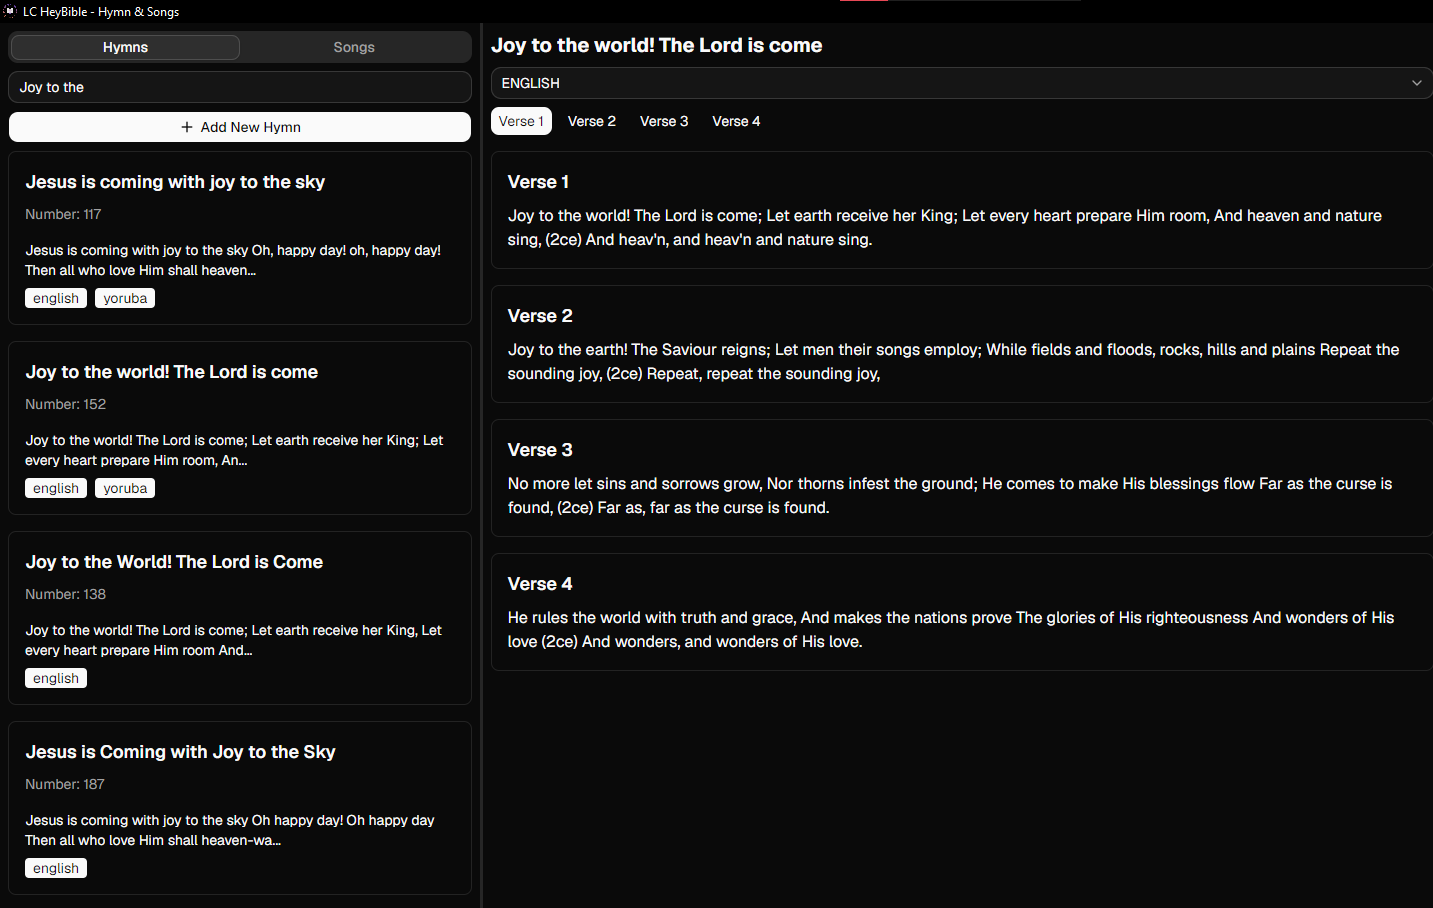
The Hymn Viewer allows you to easily display hymns and songs on the projector during a service.
Accessing the Viewer: Click the Hymn Viewertab at the top of the Control Panel to open the "LC HeyBible - Hymn & Songs" window.
Hymns and Songs Tabs: You can toggle between built-in Hymns and custom Songs at the top of the window.
Searching and Selecting: Use the search bar to quickly find what you are looking for. Selecting an item will display its verses.
Displaying on Projector: Click the Open Projector button within the Hymn Viewer to take control of the external display. A prompt will appear to confirm the action. Once active, you can click on any verse to immediately display it on the screen.
Language Selection: For supported hymns, you can switch the language (e.g., between English and Yoruba) using the dropdown menu above the verses.
Adding Custom Songs: In the Songs tab, click + Add New Song to create custom lyrics. You can copy lyrics from an external source, paste them into the text area, and the app will automatically detect multiple verses. You can select specific text using your cursor to highlight the block of text to set as the Chorus or Verse, and save the song with a title for future use.